
Why Security Camera Footage Looks Blurry at Night and How to Improve It
Learn why security camera footage becomes blurry, dark or washed out at night and how better placement, lighting, cleaning and settings can improve it.
A camera that looks sharp during the day can become disappointing after sunset. Faces lose detail, moving people blur, number plates turn into bright rectangles, and the whole image may appear foggy or black. Night footage depends on more than camera resolution. Lens condition, infrared light, mounting position, nearby surfaces, scene lighting, shutter behaviour and recording settings all affect the result.
Start with the lens and housing
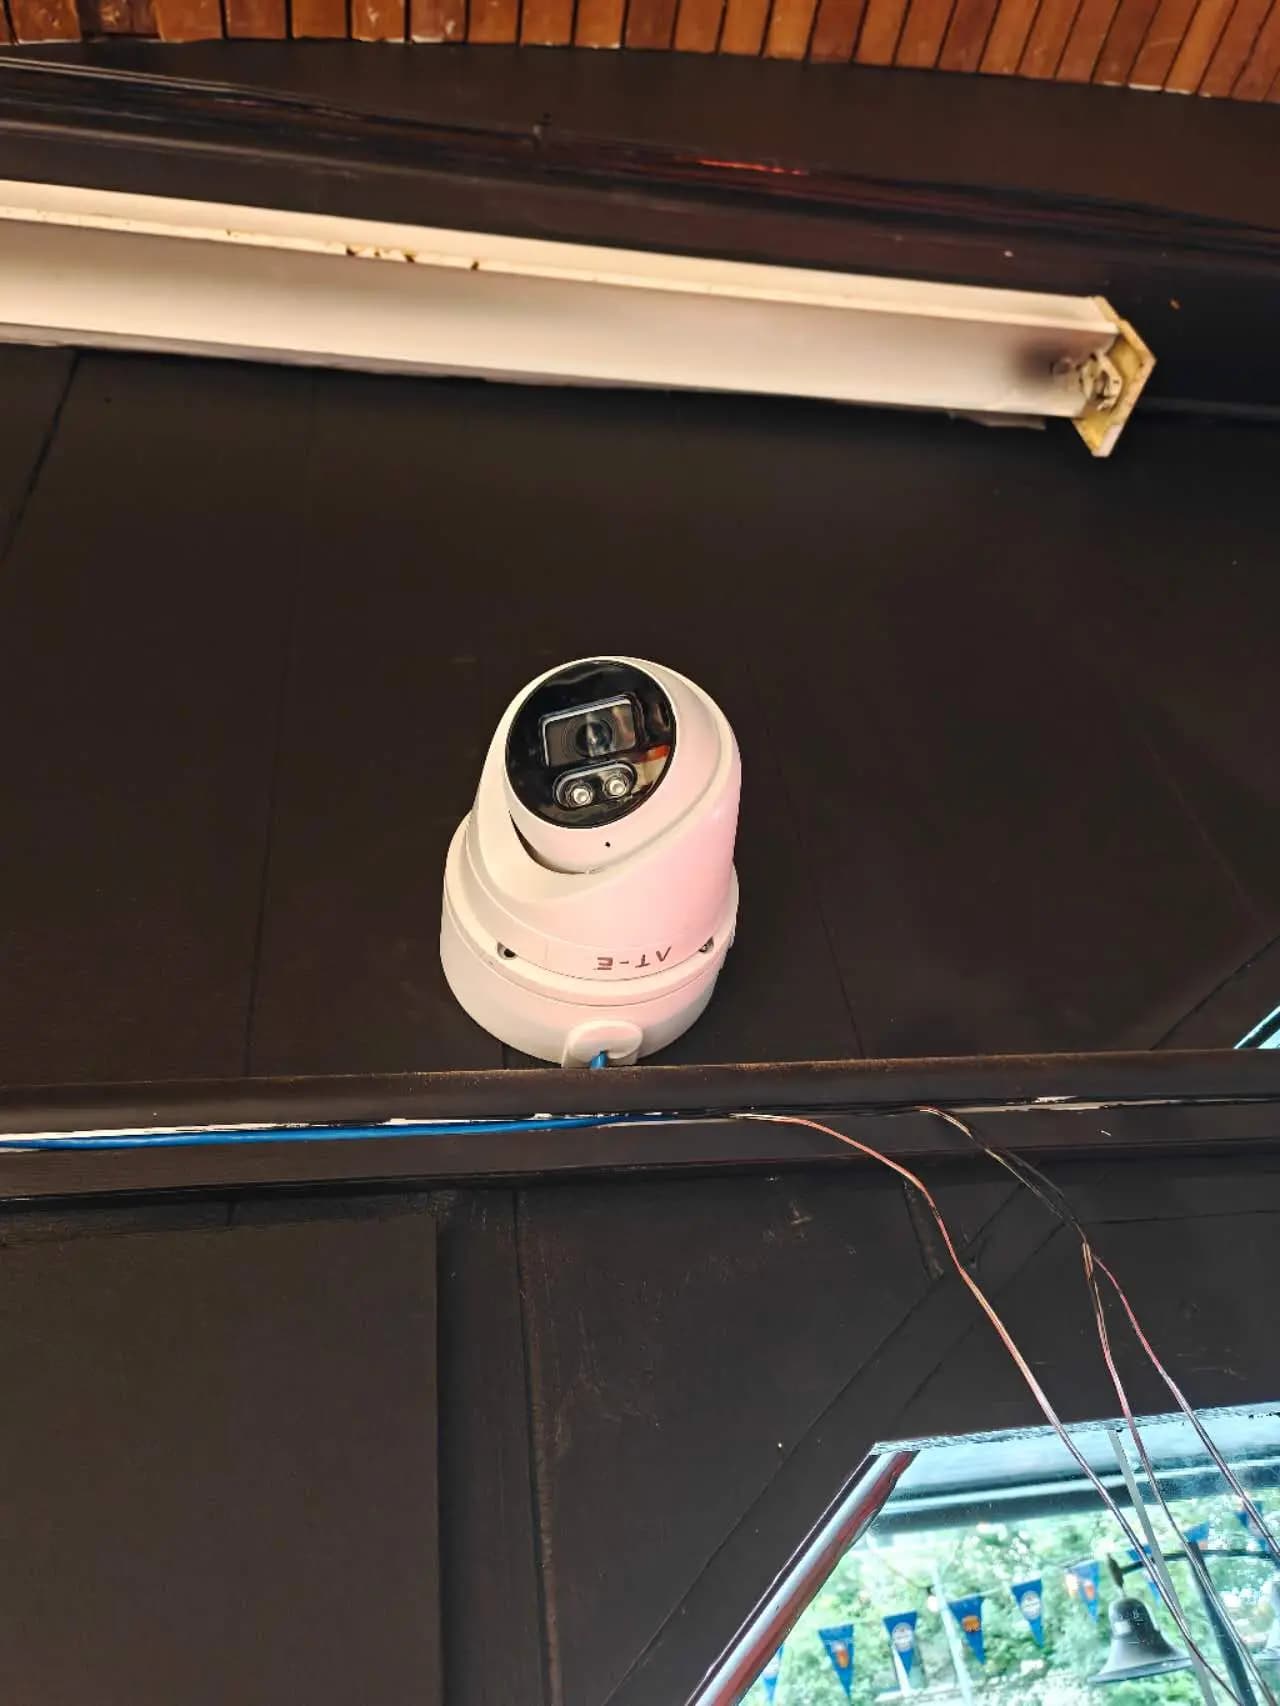
Dust, fingerprints, rain marks, condensation and spiderwebs are far more visible when infrared light reflects from them at night. Clean the lens and surrounding infrared window with a suitable soft cloth, inspect the housing seal and check whether moisture is forming inside the cover. Trim branches and remove webs without spraying chemicals directly onto the camera.
Reflections can overwhelm the image
Infrared light can bounce from a nearby wall, gutter, eave, window glass or pale surface and cause a bright haze. A camera mounted behind glass often records its own infrared reflection instead of the scene outside. Re-angle the camera, move it farther from the reflective surface, disable built-in infrared only when another suitable light source is available, or choose a mounting point with a clearer field of view.
More megapixels do not automatically solve night blur
High resolution can help preserve detail, but the camera still needs enough light and an appropriate exposure. In darkness, the system may lengthen the exposure or increase electronic gain, creating motion blur and visible noise. Compare night performance, sensor size, lens and low-light behaviour rather than selecting only by the megapixel number printed on the box.
Add light where identification matters
A small amount of well-positioned ambient light can improve colour, exposure and moving-subject detail. Use consistent lighting around entrances, paths and driveways rather than one harsh light aimed directly at the lens. Smart lighting can remain dim and increase when a person or vehicle is detected. Avoid rapid switching that leaves the camera repeatedly adjusting between bright and dark.
Match the camera view to the security task
A wide overview is useful for understanding movement, but it may not provide enough pixels on a face at the gate. Use a narrower view or a second camera for identification points such as doors, pedestrian gates or driveways. Mounting too high can show the top of a person’s head; mounting too low can make the camera easy to obstruct. Test the actual distance at which identification is expected.
Review motion, shutter and image settings
Settings such as exposure time, gain, wide dynamic range, noise reduction and infrared intensity can improve one scene while harming another. Strong noise reduction may make a still image look smooth but remove detail from a moving person. Very slow shutter settings brighten the scene yet increase motion blur. Adjust settings while someone walks through the real area, not by judging an empty screenshot.
Check recording quality, not only live view
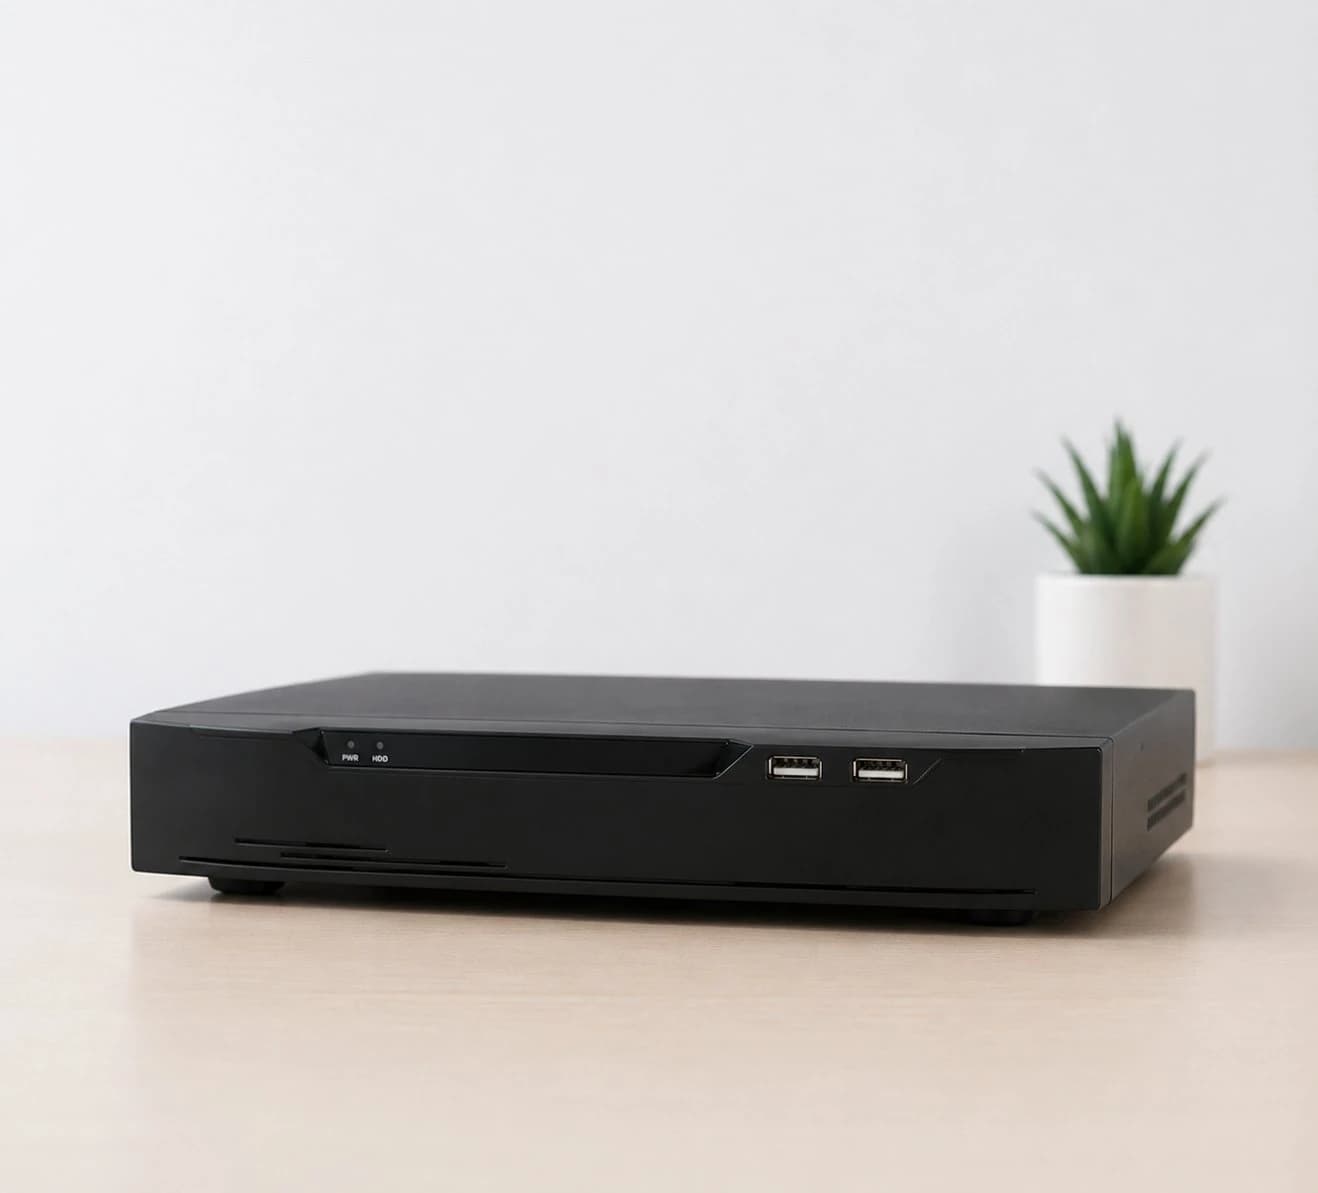
The live stream shown on a phone may use a lower-resolution sub-stream to save bandwidth. Confirm the main recording stream, frame rate, bitrate and retention settings in the recorder. Export a short night clip and view it on a larger screen. This confirms whether the problem is the camera image, the recording profile, the network connection or simply the preview selected in the app.
Weather and seasonal changes matter
Rain, fog and insects can reduce visibility, while wet paving may create new reflections. A tree that caused no issue in winter can block the view in summer. Review important cameras after storms, landscaping changes and daylight-saving adjustments. Night testing should be part of routine maintenance rather than a one-time installation step.
Use a realistic night test
Ask a person to approach, pause, turn and walk across the scene at normal speed. Test dark clothing, vehicle headlights and the lighting conditions normally present at that time. The goal is not a bright picture of an empty driveway; it is usable footage of real movement at the distance that matters.
Conclusion
Useful night footage comes from a complete scene design, not one headline specification. Austrend can test camera angles, lighting, infrared reflection and recording settings at the real property. Contact our Melbourne team if your existing cameras look poor after dark or you are planning a new CCTV system.
Frequently asked questions
Why is my camera clear in the day but foggy at night?
Infrared reflection from dirt, moisture, spiderwebs or a nearby surface is a common cause. Lens condition and mounting position should be checked first.
Will a brighter infrared setting always improve the image?
No. Too much infrared can overexpose nearby objects and make faces or number plates harder to see.
Can software sharpen a blurry recording afterwards?
Software may improve presentation slightly, but it cannot recreate detail that was never captured. Correct placement, light and exposure are more important.
Tags
- Security Cameras
- Night Vision & Image Quality